Last year I was so excited when kobo announced their new Aura HD. But it there were no cases or covers available at the time of shipping. So I made one! Not the first one I've made mind you. I'd made 3 others before, for the sony PRS-650 series, and the Kobo touch. Here I go starting in the middle of the story again.
Let me start at the beginning.
Several years ago, I purchased my first eReader. a Sony PRS-650. It was gorgeous. Black aluminum body, with a infrared touch screen and expandable memory. I couldn't afford the $50 for the nice matching case. But I could sew. I was feeling a bit pressed for time, so rather than re-invent a pattern from scratch, I purchased this one here: LINK
I ended up making three covers, one for me, one for a friend, and later on one for my daughter.
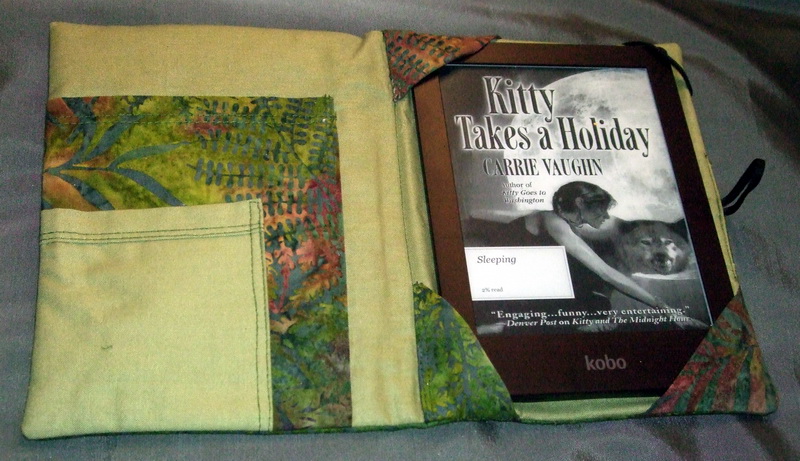
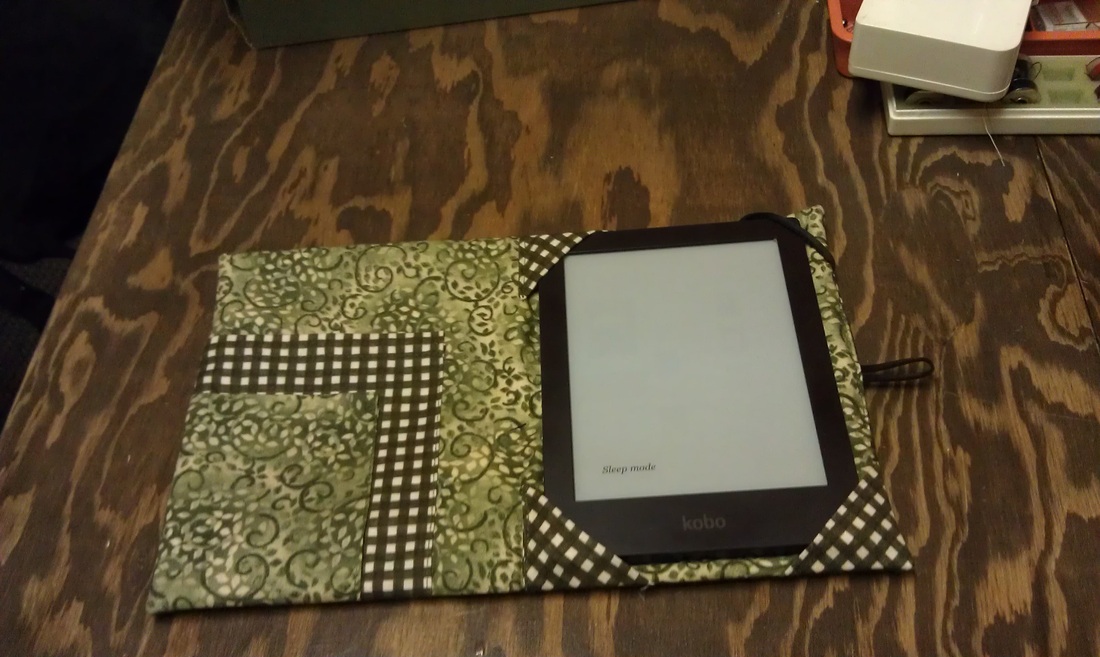
I've made a few modifications to that original pattern over the years. Mine only have 3 fabric corners, instead of 4, for easier access to the light & power buttons. The pockets open horizontally instead of vertically, the better to store your charging cable, and a small pocket for business cards or notes.
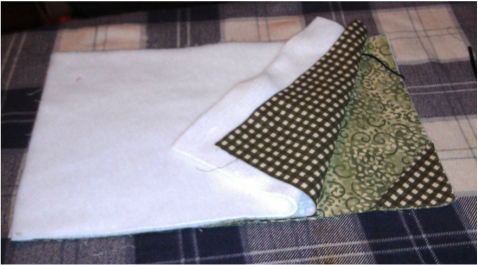
When the new Aura HD came out, I had to modify the existing pattern I bought to fit it. Though the original author had updated the pattern for the kobo touch, the Aura HD wasn't listed. If you'd like to try to make your own, Here is the modified pattern to fit this larger e-reader. Recent changes to the pattern include smaller corner pockets as well. The original ones were too large and tended to obscure the screen as seen above. I find the fit a bit loose on the original as well, however, as I make these using quilter's cottons, there is a chance that there may be some shrinkage over time, due to laundering.
Want to give it a try? Here's How you do it:
Download the PDF here
Let me start at the beginning.
Several years ago, I purchased my first eReader. a Sony PRS-650. It was gorgeous. Black aluminum body, with a infrared touch screen and expandable memory. I couldn't afford the $50 for the nice matching case. But I could sew. I was feeling a bit pressed for time, so rather than re-invent a pattern from scratch, I purchased this one here: LINK
I ended up making three covers, one for me, one for a friend, and later on one for my daughter.
I've made a few modifications to that original pattern over the years. Mine only have 3 fabric corners, instead of 4, for easier access to the light & power buttons. The pockets open horizontally instead of vertically, the better to store your charging cable, and a small pocket for business cards or notes.
When the new Aura HD came out, I had to modify the existing pattern I bought to fit it. Though the original author had updated the pattern for the kobo touch, the Aura HD wasn't listed. If you'd like to try to make your own, Here is the modified pattern to fit this larger e-reader. Recent changes to the pattern include smaller corner pockets as well. The original ones were too large and tended to obscure the screen as seen above. I find the fit a bit loose on the original as well, however, as I make these using quilter's cottons, there is a chance that there may be some shrinkage over time, due to laundering.
Want to give it a try? Here's How you do it:
Download the PDF here
| ereader_cover_pattern.pdf |
You will need:
2 Fat Quarters, or .25 yard each of 2 contrasting fabrics
.25 yard fleece (or a remnant measuring around 9x17"
.5 yard fusible interfacing
8 inches of elastic ribbon or rat-tail cord style
Button
Due to the nature of yardage - this should give you enough material to make two covers, if you cut carefully.
Otherwise you can simply use whatever fabric scraps you have on hand in your stash.
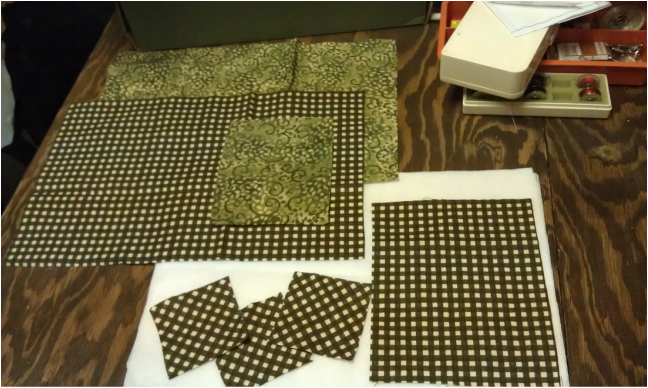
Step 1: Cut out pieces as indicated on Pattern:
Main Pattern piece: ON FOLD: Cut 1 main colour, 1 contrast colour, 2 interfacing & 1 fleece or batting
Large Pocket: 1 Main Colour
Small Pocket: 1 Contrast Colour
Corner Squares: 3 Main Colour
2 Fat Quarters, or .25 yard each of 2 contrasting fabrics
.25 yard fleece (or a remnant measuring around 9x17"
.5 yard fusible interfacing
8 inches of elastic ribbon or rat-tail cord style
Button
Due to the nature of yardage - this should give you enough material to make two covers, if you cut carefully.
Otherwise you can simply use whatever fabric scraps you have on hand in your stash.
Step 1: Cut out pieces as indicated on Pattern:
Main Pattern piece: ON FOLD: Cut 1 main colour, 1 contrast colour, 2 interfacing & 1 fleece or batting
Large Pocket: 1 Main Colour
Small Pocket: 1 Contrast Colour
Corner Squares: 3 Main Colour
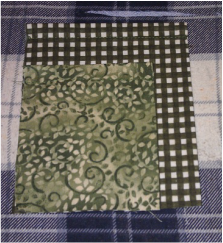
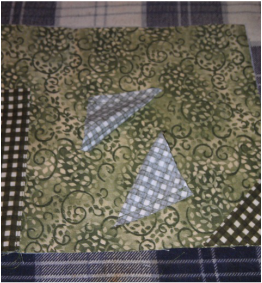
Step 2: Fold corners squares into triangles corner to corner & press. Hem Large & Small Pockets (fold under 1/4" towards wrong side, press, fold under 1/2" press and stitch down. Turn under 1/4" the right hand edges of both the small and large pockets. Press
Placing the small pocket over the large one, line up the bottom left corner. Stitch the right side of the small bottom pocket down.
Step 3: Iron fusible interfacing to the wrong sides of the Outer and Inner covers.
Step 4: Place the assembled pockets into position on the contrast inner cover, lining up the bottom left corners of all 3 layers. Stitch down the right side of the large pocket.
Step 5: Take 2 corner triangles. With right sides together, stitch one side of each triangle closed. Trim corner close to stitching and turn right side out. Match remaining raw edges with bottom or top, and finished seam with centre of inner cover.
Step 6: Pin the remaining corner piece, and a 2 3/4" piece of the elastic trim into position on the remaining two corners. Baste all corners & pockets into place.
Step 7: With right sides together and topped with the fleece batting, stitch around entire cover with a 3/8" seam, leaving an opening to turn on the right side between the elastic the corner piece. Trim fleece close to stitching. Trim all corners close to stitching. Turn & press.
Step 8: fold the remaining piece of elastic trim in half and tuck into unstitched opening. Topstitch opening closed.
Step 9: Stitch down the centre of the cover. (Optional) This is a decorative step, but I find it can help with keeping the batting from shifting.
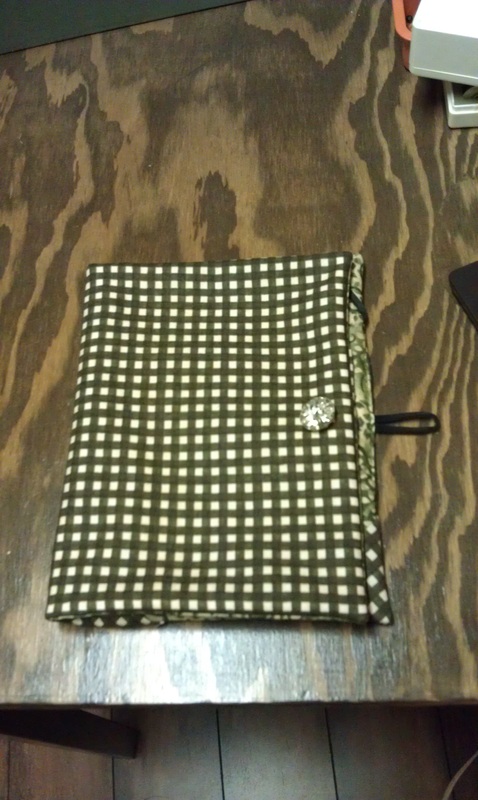
Step 10: Hand sew a button on the outside of the cover.
DONE! Insert eReader & get reading!
Step 8: fold the remaining piece of elastic trim in half and tuck into unstitched opening. Topstitch opening closed.
Step 9: Stitch down the centre of the cover. (Optional) This is a decorative step, but I find it can help with keeping the batting from shifting.
Step 10: Hand sew a button on the outside of the cover.
DONE! Insert eReader & get reading!
 RSS Feed
