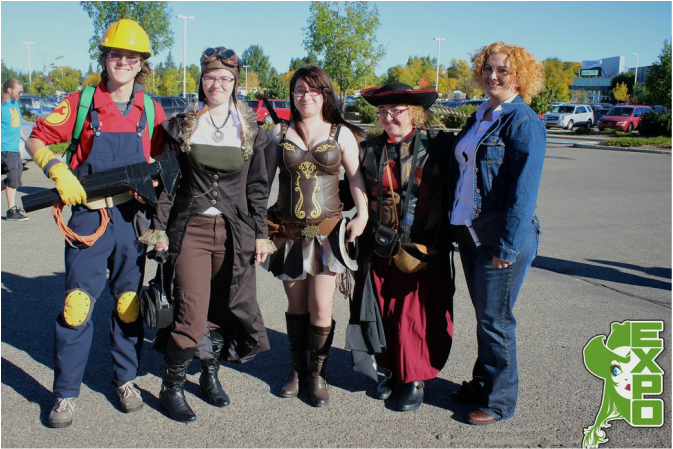
So, we got tickets for the Saskexpo, and two weeks before the day, we still hadn't decided if we were going to cosplay, or just go in our T-shirts & Jeans, and geek it up. Then my sister informed me that not only was she and her daughter going to cosplay, they had even entered the costume contest. Well. I can't be outdone, that's just not, well . . . done.
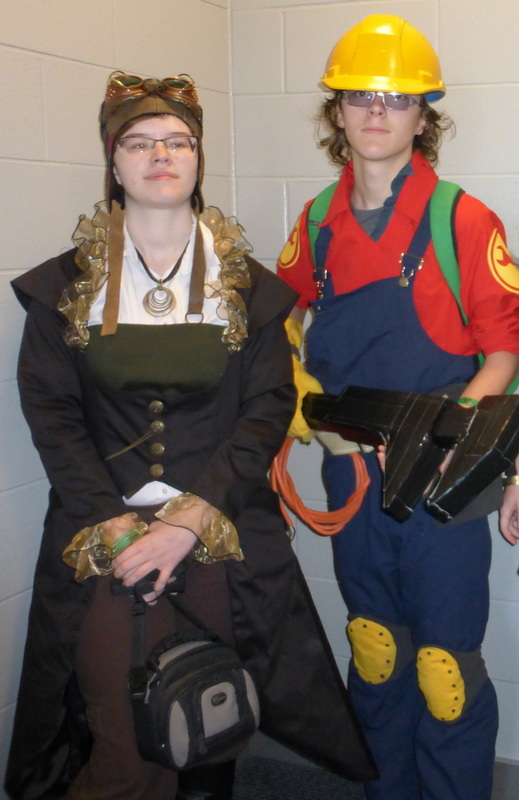
With limited time, my son decided that his Red Team Engineer from Team Fortress two (Made for Halloween 2012) would do nicely, if I could extend the shirtsleeves, and Pant legs, and make him a new glove. Those were relatively easy fixes, so we were good to go there. My daughter wasn't wanting to wear her Walter Girl outfit, and I could totally sympathize. Spending the day in white pancake makeup, and tights that keep riding down, does not sound comfortable. I told her I'd think of something, and I found this pattern in my stash. Simplicity Pattern 2172. Originally I thought perhaps she might like to wear it with her Grad dress. After seeing the jacket in progress, she decided to go for an aviator style look instead.
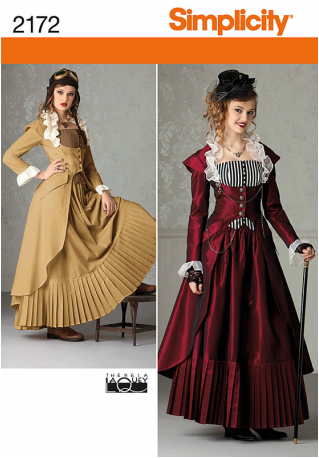 Simplicity 2172 steampunk-ish pattern.
 I had bought an assortment of Simplicity Costume patterns, when Fabricland decided they were going to stop carrying that brand this spring.
So, since i was picking up my VERY homesick college girl for the weekend, we made a pit stop at fabricland for fabric & buttons. I picked some gorgeous bronze sparkle organza, and some really nice black suiting with just a hint of stretch. A gorgeous firm texture and hand for a jacket.
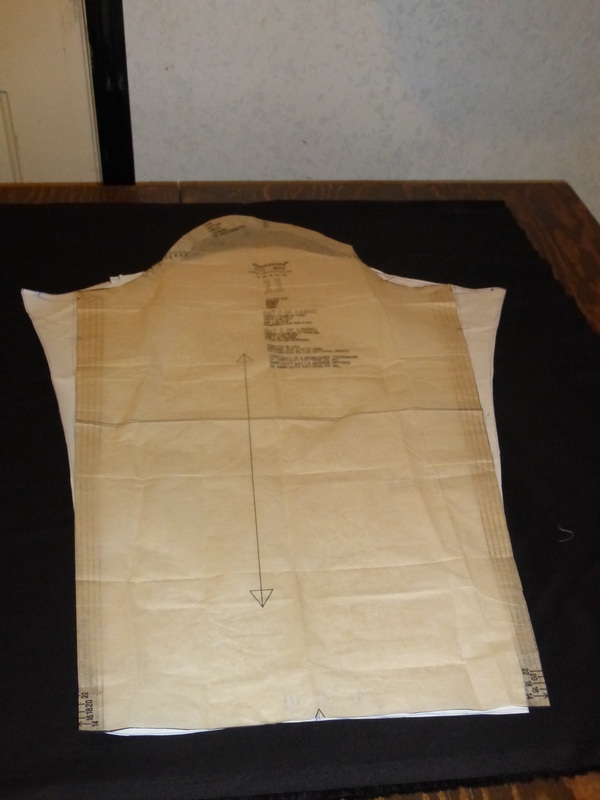
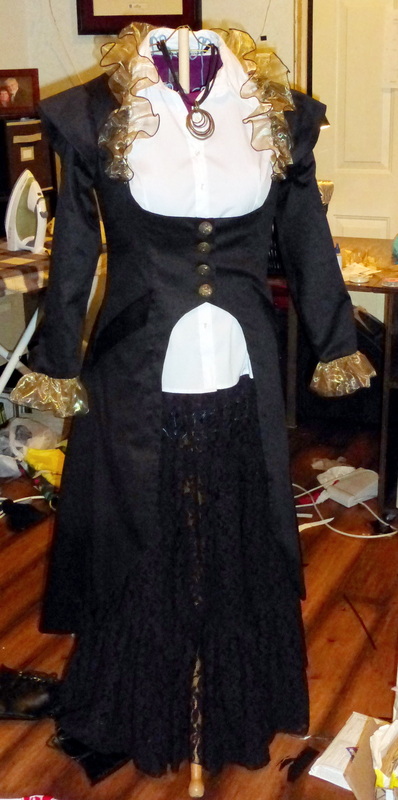
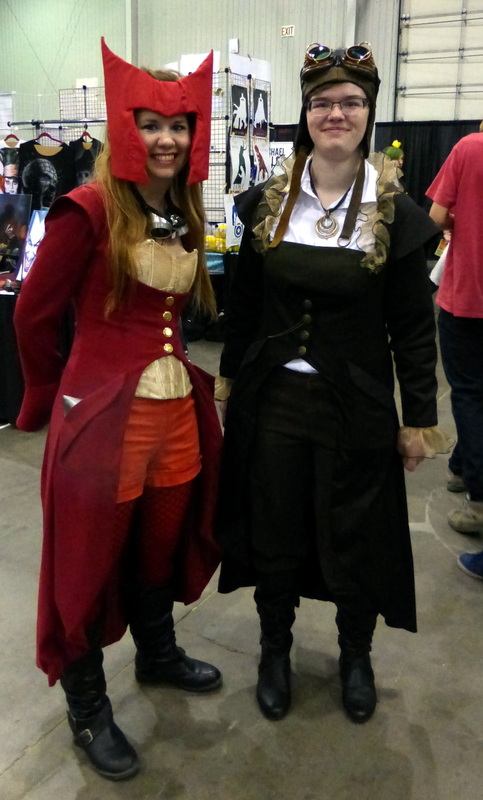
This pattern sewed up REALLY nicely, with very few changes. I did raise the hemline, and shorten the torso just a bit, as well as bring in the drop shoulders, so they weren't quite so droopy. The biggest change would have been the sleeves. I don't know why people insist on making such long narrow sleeve patterns, and such tall sleeve caps. Not only are they more challenging to apply, but once installed, you can't raise your arms above the level of the girl in the first picture, never mind to shoulder level.
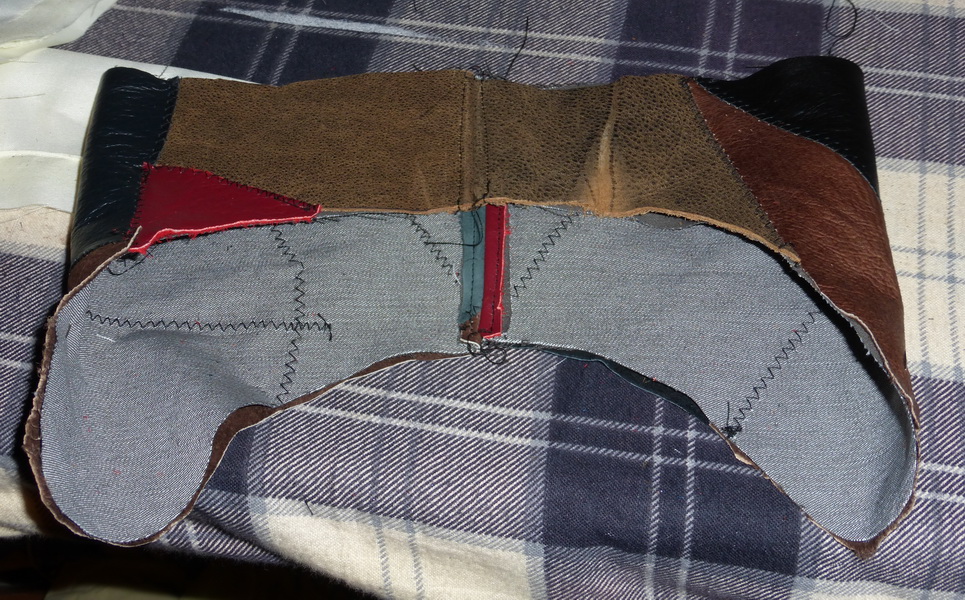
So after Redrafting the sleeve to have a shorter cap, and wider biceps, everything looked great. Once we got to my sisters house though, the aviator cap I had made turned out to be too small. And I decided to make a quick bustier from that pattern as well. However, I shortened the pattern TOO much, and didn't take it in enough. I found that this pattern fits a good size above actual size, especially for the bustier, which should be a very close fit. Still a couple of safety pins, and at midnight I pronounced it good enough for the SaskExpo. I think I'd like to make a do-over of the bustier again in a wine taffeta, without shortening the waist this time.
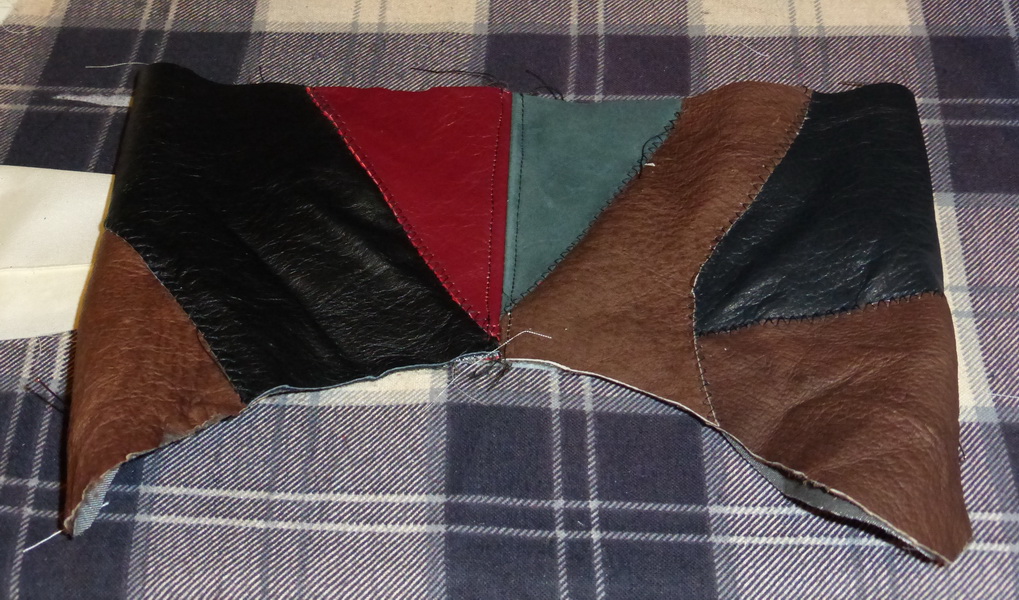
I used the directions from HERE for the Aviator Cap. I ended up modifying those instructions just a bit, to make the triangle tops, just a bit more squat, for a bit more rounded look at the peak, and cutting the front and back brim a bit higher for a better fit around the nape and brow.
So, since i was picking up my VERY homesick college girl for the weekend, we made a pit stop at fabricland for fabric & buttons. I picked some gorgeous bronze sparkle organza, and some really nice black suiting with just a hint of stretch. A gorgeous firm texture and hand for a jacket.
This pattern sewed up REALLY nicely, with very few changes. I did raise the hemline, and shorten the torso just a bit, as well as bring in the drop shoulders, so they weren't quite so droopy. The biggest change would have been the sleeves. I don't know why people insist on making such long narrow sleeve patterns, and such tall sleeve caps. Not only are they more challenging to apply, but once installed, you can't raise your arms above the level of the girl in the first picture, never mind to shoulder level.
So after Redrafting the sleeve to have a shorter cap, and wider biceps, everything looked great. Once we got to my sisters house though, the aviator cap I had made turned out to be too small. And I decided to make a quick bustier from that pattern as well. However, I shortened the pattern TOO much, and didn't take it in enough. I found that this pattern fits a good size above actual size, especially for the bustier, which should be a very close fit. Still a couple of safety pins, and at midnight I pronounced it good enough for the SaskExpo. I think I'd like to make a do-over of the bustier again in a wine taffeta, without shortening the waist this time.
I used the directions from HERE for the Aviator Cap. I ended up modifying those instructions just a bit, to make the triangle tops, just a bit more squat, for a bit more rounded look at the peak, and cutting the front and back brim a bit higher for a better fit around the nape and brow.

 RSS Feed
